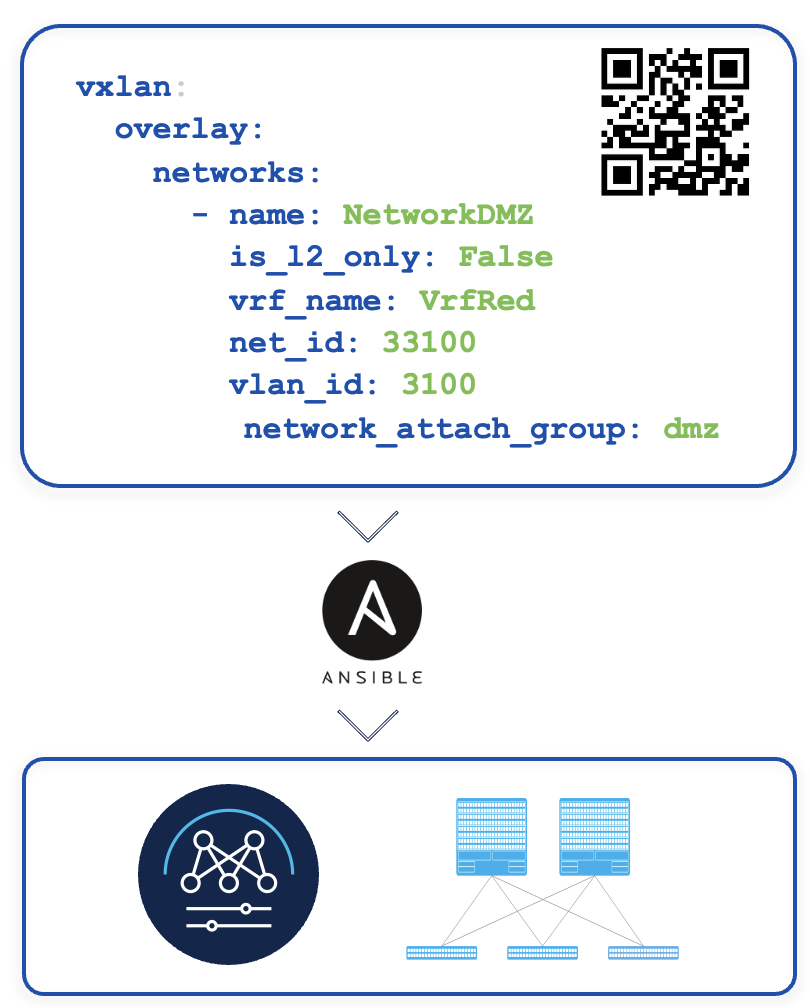
Network as Code (netascode.cisco.com) is designed to accelerate time-to-value by simplifying network orchestration through abstraction, streamlined processes, and curated examples, thereby lowering the barrier to entry for effective network management.
This framework enables users to deploy network configurations in minutes using an intuitive, opinionated data model. It eliminates the complexity of managing references, dependencies, or loops, allowing users to focus on defining the intended configuration. By leveraging a set of maintained and rigorously tested Ansible modules, users can implement network setups without needing in-depth knowledge of low-level device configurations.
Network as Code provides a comprehensive suite of Data Models to ensure consistent methodology across diverse network
environments. These models include:
In this lab section, the VXLAN module will be utilized to configure and deploy a new VRF. The
VXLAN Data Model is structured into several high-level sections:
To stay informed about the latest enhancements and additions to the Data Models,
regularly visit the Network as Code website.

To streamline your workflow in the lab environment, we have provisioned a web-based instance of
Microsoft Visual Studio Code. This platform enables you to efficiently create and edit the required
files to implement Service as Code.
To access your assigned POD, which hosts your Microsoft Visual Studio Code instance, please navigate to:
https://10.0.226.241:16005/?folder=vscode-remote://10.0.226.241:16005/home/pod05/ltrdcn-2654
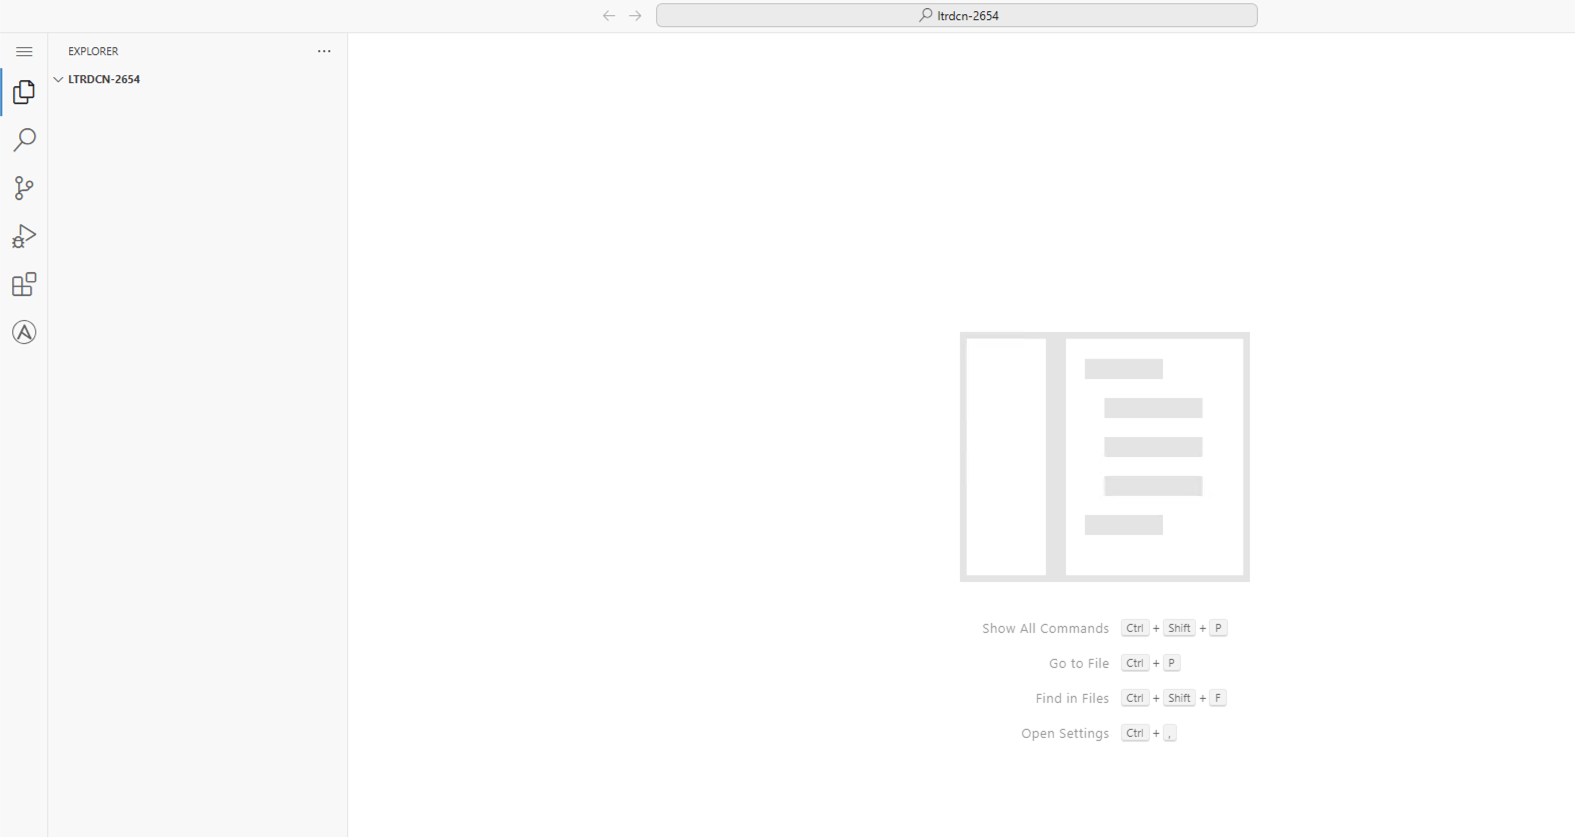
After succesfully logging to Microsoft Visual Studio Code, you will be presented with the following screen:

Please open terminal session inside Microsoft Visual Studio Code by following steps:

At the bottom of the screen the terminal will appear with the following prompt:
pod5 ~/ltrdcn-2654 $:
Please contact one of the lab instructor if the prompt is different.
Before we start taking advantage of Service as Code and the VXLAN Data Model, we
need to setup our working environment. This requires setting up:
VXLAN Data Model CollectionNOTE: During the following steps you can leverage the copy function as well by hovering your mouse just below the Cisco logo and the copy icon will display. Allowing you to copy the command and then, being able to paste the command in the terminal. As in previous section we are trying to minimize errors.
pyenv install 3.12.10
pyenv install 3.12.10
pyenv versions
* system (set by /home/pod05/.pyenv/version)
  3.12.10
pyenv global 3.12.10
The command to create your virtual environment using pyenv is pyenv virtualenv {python_version} {virtualenv_name}.
Create a virtual environment called nac-ltrdcn-2654 using the 3.12.10 Python version you previously installed.
Do this by either typing or copying the command below into your VSCode Terminal window:
pyenv virtualenv 3.12.10 nac-ltrdcn-2654
Next, use the pyenv local {virtualenv_name} to set the virtualenv for the project. This will create a
.python-version file within the current directory, thus the reason we went ahead and changed directory into the project directory.
This file is powerful as it will handle activating and deactiving the virtualenv as you move in and out of the project directory automatically,
otherwise, this is an action you would need to perform manually or by some other automated means.
Do this by either typing or copying the command below into your VSCode Terminal window:
pyenv local nac-ltrdcn-2654
And with that you have created and activated the virtual environment you will use during this lab.
Notice that it placed you inside the virtual environment after creating it. The
important part is the way the SHELL looks like while you are inside
the virtual environment. Notice the (nac-ltrdcn-2654) at the start of the line; that indicates the virtualenv is active.
What active virtualenv looks like:
(nac-ltrdcn-2654) pod05 ~/../nac-ltrdcn-2654 $:
Now, that we have setup our environment, let's move to the next session to setup Service as Code for our VXLAN environment.